
I’m a busy mum to four children, and a full-time job as the London Experience Launcher at Amazing Co. This means our family meals need to be super-easy - I just don’t have time to fiddle around making food masterpieces or follow recipes with hundreds of ingredients. My children also range in age from the oldest who is 16 and quite open to trying spicy foods or unusual vegetables to my youngest who is seven and picks tomatoes off everything and claims to dislike most of the meals I put in front of her. With this in mind, my family cooking needs to be full of crowd-pleasers that I can make very simply from a budget.
I know I'm not alone, most parents juggle trying to find healthy food that their children will eat that doesn’t blow the budget! Here are four recipes I go to both for main meals and snacks. The breakfast bites are particularly good for lunch boxes or if your children need an after-sport snack. The Banana ‘ice-cream’ has been a total game-changer for us - healthy and sweetened with honey - my children love making it and see it as a treat! They are also simple enough so that my children can make them on their own (if I turn a blind eye to the mess that is made in the kitchen!)
These recipes work for my kids, but are just as delicious for adults too!

My kids are quite sporty, so in between cricket camp and swimming lessons, athletics and gymnastics you can usually find them nagging me for food! These breakfast bites are super-quick to make and keep in an airtight container for 4/5 days. They are robust enough to chuck into lunch boxes or for car journey snacks.
Ingredients
1.5 cups rolled oats (or gluten-free oats)
3 mashed bananas
300g chocolate chips (these can be substituted for raisins)
1.5 tsp cinnamon
1 tablespoon honey
Prep time - 5 - 10 mins
Cooking time - 15 mins
First pre-heat the oven to 350°F, or 160 Fan °C or Gas mark 4
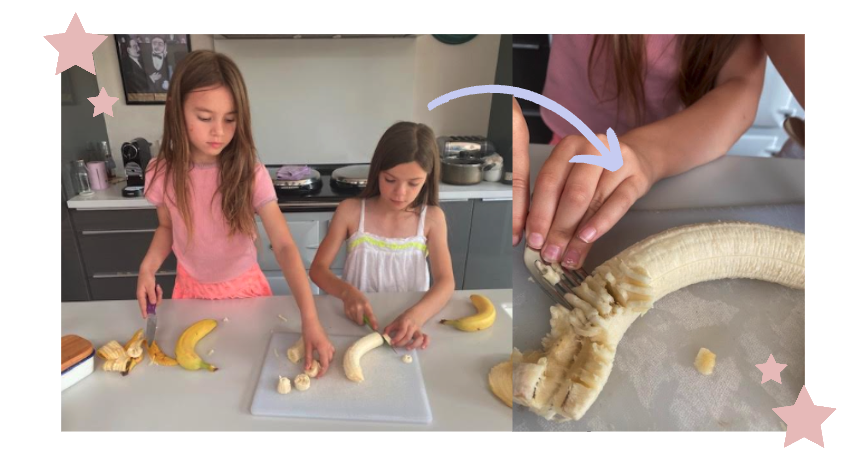
Get the children to mash the bananas up - the squidgier the better!
Next add the mashed bananas into a bowl and tip in the oats.
Next add the honey, the cinnamon and the chocolate chips - give it a good mix!

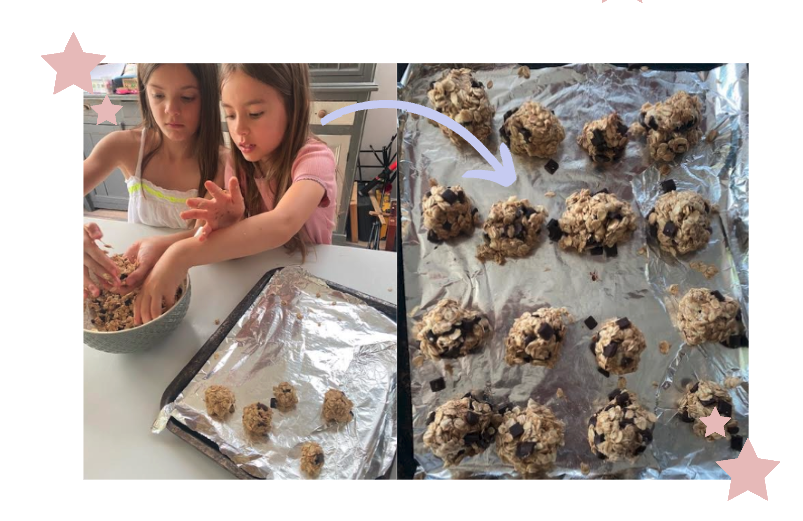
Now for the fun (and messy) bit! The mixture should be easy enough for little fingers to grab a small handful and roll into a ball. Place on a greased tin or line with baking parchment/foil. We make about 16 balls and we don’t make them too big. This way they can fit in lunchboxes and are a perfect snack size.
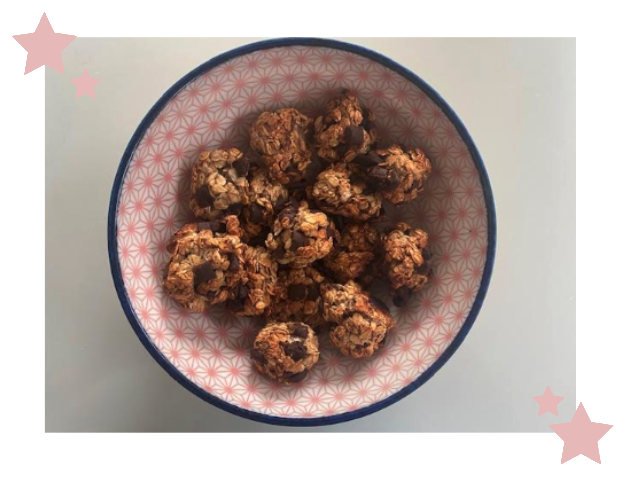
Place in the oven for 15 mins, then leave to cool and enjoy!
Easy to replicate 5/5. Health Rating 4/5. Fun factor 4/5.
Suitable for: Families looking for healthy snacks and recipies that children can make themselves without much help.
Can it be adapted? You can easily leave out the chocolate chip and swap them with raisins. You could also add dried fruit, chopped nuts or vanilla extract to sweeten up.

I love the idea of homemade ice-cream, but with no room for an ice-cream maker, and no patience for putting a mixture in the freezer and churning it every hour, this is a great alternative. It’s the best cheats ‘ice cream’ I have discovered and is just as delicious as real ice cream!
Ingredients
4 ripe bananas
3-4 tablespoons milk
Digestive biscuits
1 tablespoon of honey
The best thing about this recipe is it only has four ingredients!
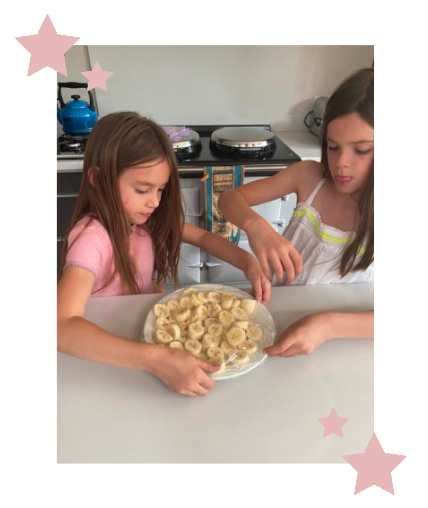
Carefully cut the four bananas up into slices and put on a plate. Cover with cling film and put in the freezer for at least at hour or until completely frozen.
When you take them out you may need to help the kids prize them off the plate!
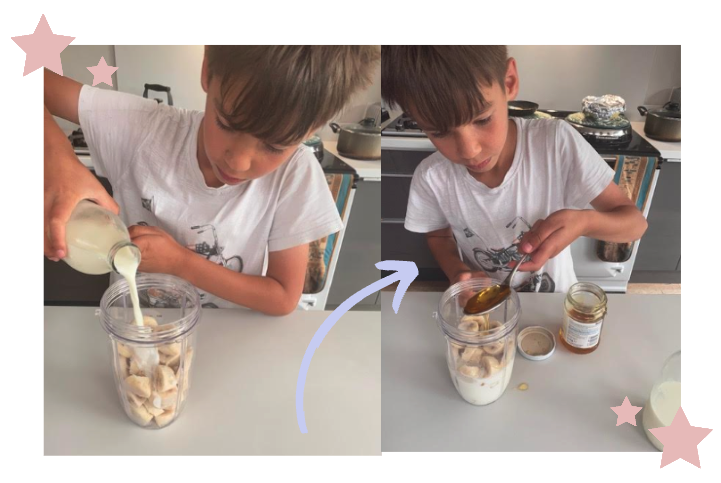
Put the frozen banana slices into a food mixer and add some honey.
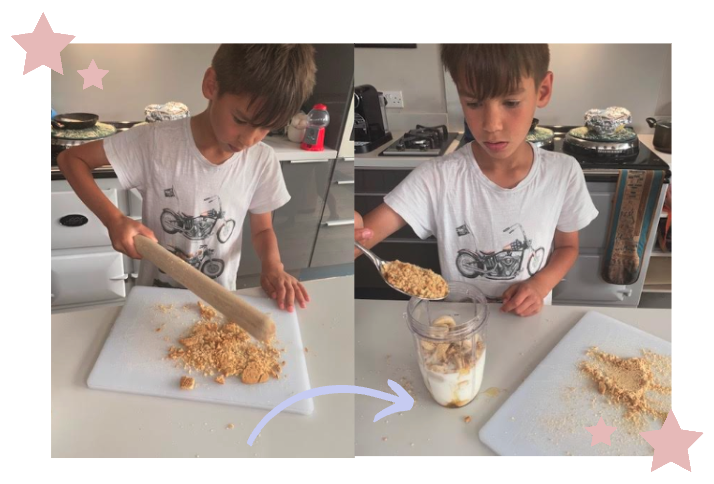
Next it’s time to bash up some digestive biscuits! This is the fun part and usually makes a huge mess all over the kitchen with choruses of ‘it’s my turn…’
Put some of the crushed up biscuits in the banana mixture but keep some back for the topping.
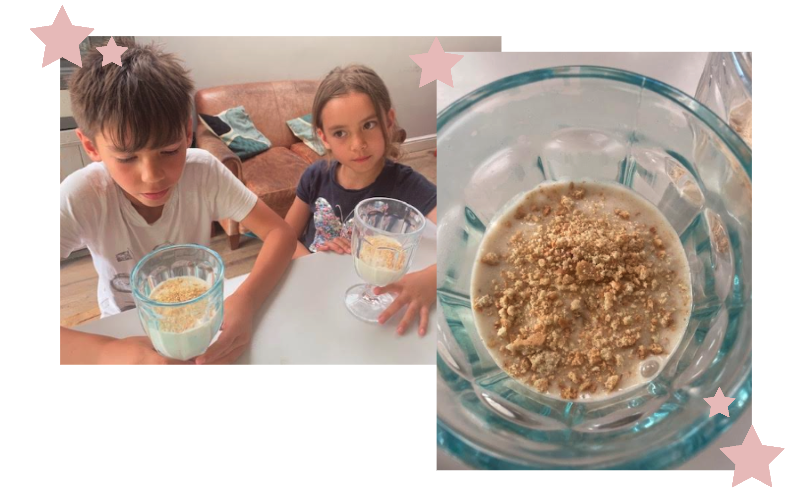
Finally, whizz it all up until it is a smooth consistency, pour into ice-cream dishes and top with digestive biscuit crumbles. This is seriously yummy!
Easy to replicate 4/5. Health Rating 3/5. Fun factor 5/5.
Suitable for: All families will love this super-easy lazy ice-cream. You can substitute cow’s milk for plant-based milk and digestives for gluten-free biscuits.
Want to make it more appealing to adults? Why not serve this as a dessert for adults and add a shot of rum and top with almonds.

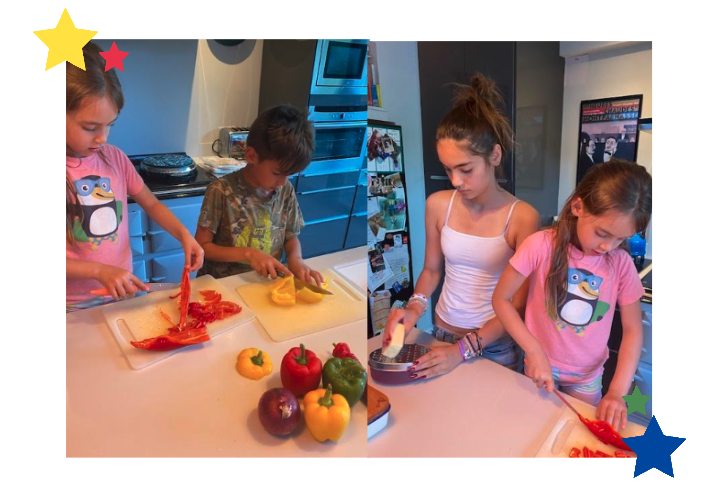
Rainbow pizzas are so easy to make but kids love all the cutting up and assembling of colours. They are packed with vegetables so super healthy too. I always think if my kids help me make the food they are more inclined to eat it, so even though my youngest would normally balk at the idea of so many peppers, she loved the cutting bit of this recipe and then gobbled the pizza up.
You can make individual pizzas (great fun as kids can make their own) or a giant family pizza - it’s up to you!
Ingredients
4 x ready made pizza bases (gluten free/vegan options here too)
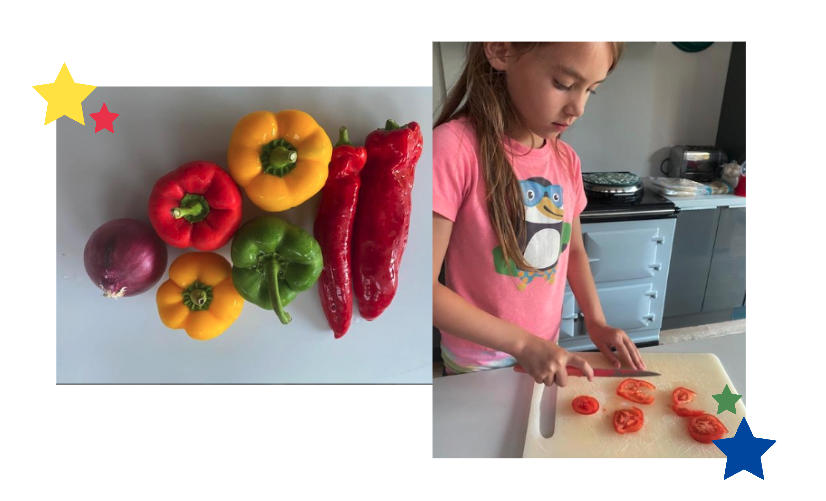
2 x sweet red peppers
Punnet of orange tomatoes
1 red, 1 green and 2 x yellow peppers
1 x purple onion
125g grated cheese like cheddar
1 x bottle of passata or your own homemade tomato sauce for the pizza base.
Pre heat the oven to 240C/220C fan/gas 8
Method
Step 1: Get the children to help you cut the veg into strips. I gave my smallest two pretty blunt knives for safety. You might need to supervise the cutting!
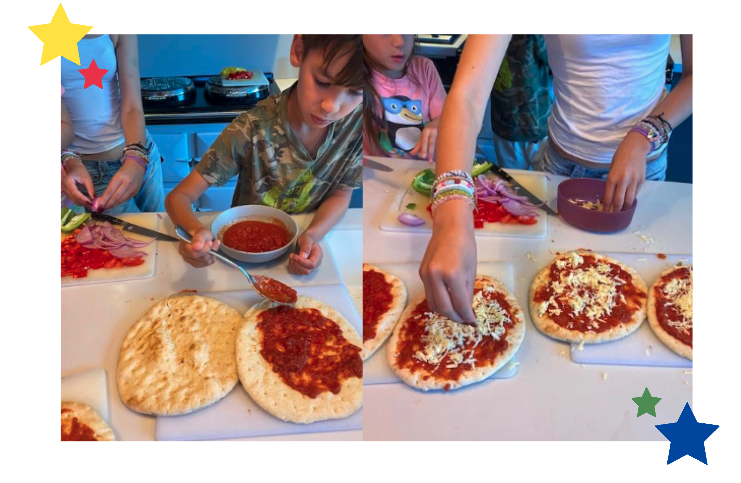
Step 2: Grate the cheese and lay your pizza bases in a row. Now spread the passata on top of the pizza bases so they are evenly covered in tomato. Sprinkle cheese all over each pizza.
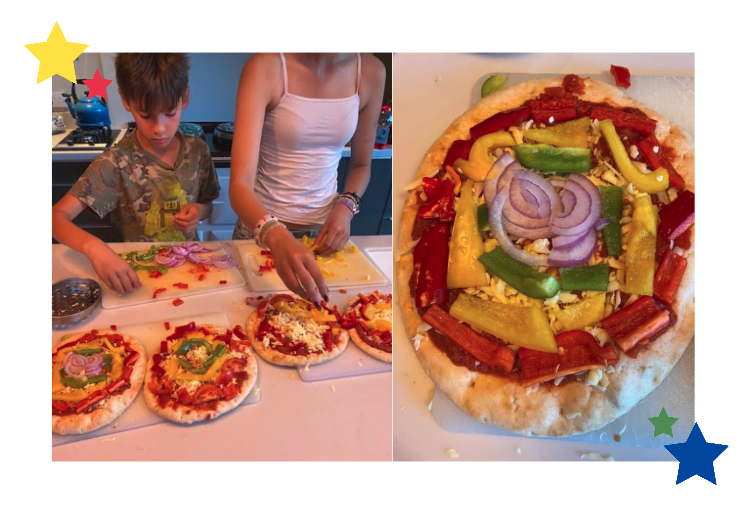
Now for the fun part! Arrange your rainbow veg in a rainbow circle, starting with the red veg, then orange, then yellow and so on… My kids were disappointed I hadn’t bought blue vegetables! Be as creative as you can with your veg colours and take the kids to the market with you first to choose your rainbow vegetables!
Once assembled, pop your rainbow pizzas in the oven to cook. They shouldn’t take long - 12 - 15 minutes at most. Once out allow them to cool before cutting into triangles and eating!
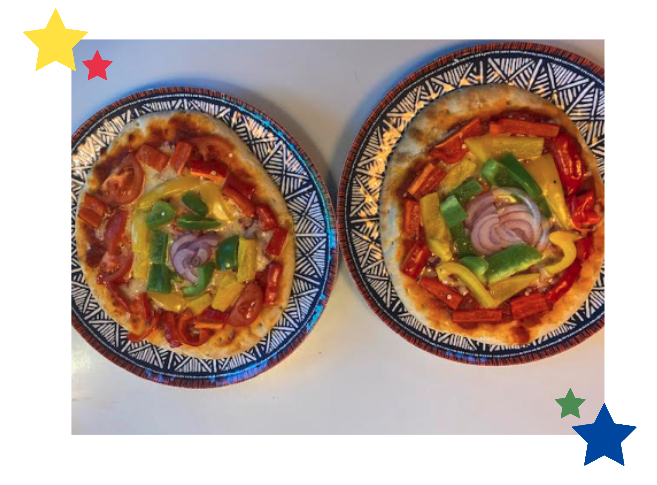
Seriously yummy and no pizza left in our house! You can substitute any of the vegetables for other veg that is in season, is colourful and doesn’t need to be cooked too much to soften. My kids like to use sweetcorn, aubergine and courgette!
For adults: Why not add some chilli oil on top!
Easy to replicate 5/5. Health Rating 5/5. Fun factor 5/5.

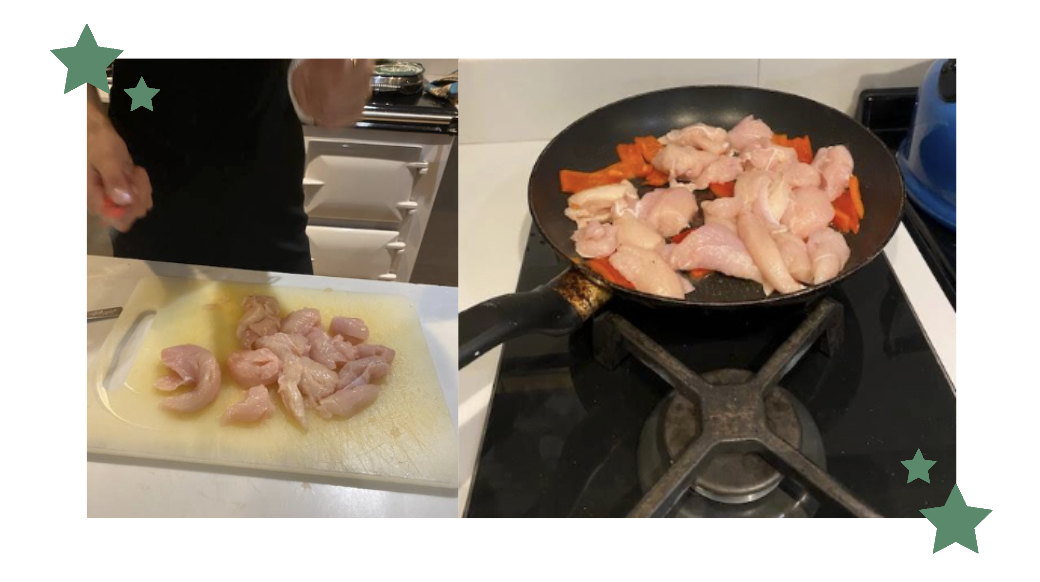
Busy families are usually rushing to get someone or getting home late from sports practise with hungry kids! These chicken wraps are quick and easy and can be adapted to whatever is in your fridge! Older children can definitely make these themselves especially if you pre-cook the chicken for them. These wraps can also be made in advance and taken on picnics. Just wrap them up tightly!
Ingredients
Chicken breasts - sliced into strips. I used 4 chicken breasts for five people.
Flour tortillas - these can be plain, wholewheat or gluten-free
Hummous
Salad leaves/avocado/tomato
Red peppers cut into strips
1 teaspoon Paprika
Method
Step 1: Once the chicken is cut into strips start to fry it in a little olive oil for 5 minutes until it starts to brown on all sides. Add in your strips of pepper and paprika until the chicken is browned all over.
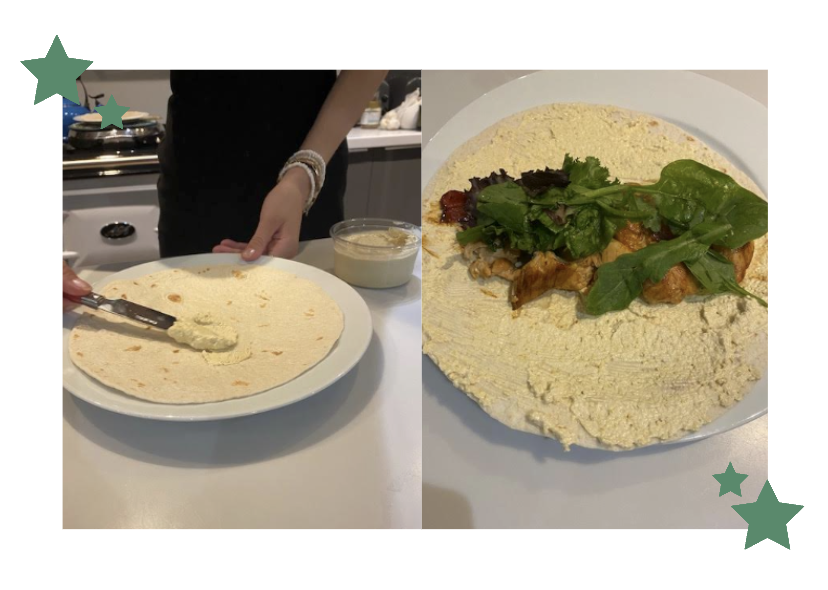
Step 2: Spread a layer of hummous on each wrap and then layer the cooked chicken and peppers on top of the hummous. Next add the salad, or some avocado and tomatoes on top of the chicken. Don’t overfill the wrap - it’s more likely to fall apart if there’s too much inside.
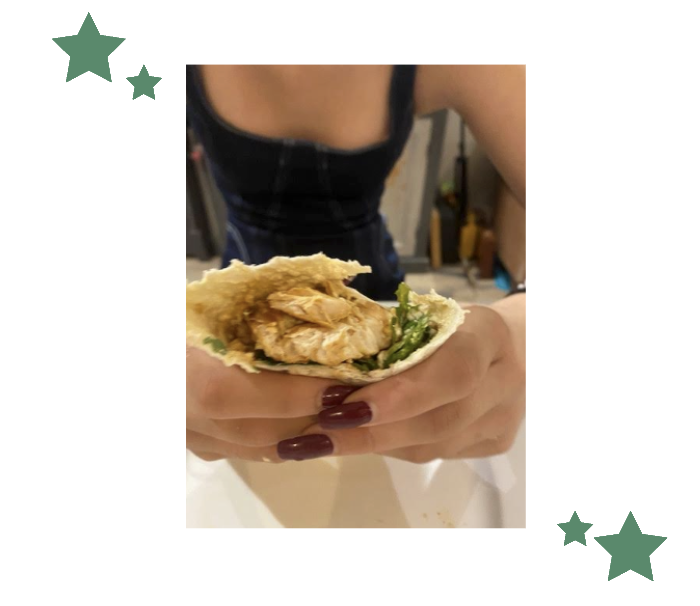
Step 3: Now it’s time to fold up your wrap! Fold in both sides so they touch but so you can still see about an inch of filling. Now bring up the bottom flap of the tortilla rolling a couple of times so it feels really secure. You can wrap in foil if it’s easier for children to eat it - just rip the top off!
For vegetarians, you can substitute the chicken for avocado, fried mushrooms and grated carrots. If you don’t like hummous why not try natural yoghurt instead. Give it an adult twist by frying the chicken in chilli oil, and sprinkling with coriander and mint.
Easy to replicate 4/5. Health Rating 4/5. Fun factor 5/5.